

Hey there, snow enthusiasts! I'm [your name], and I'm stoked to be part of a top snow tubes supplier team. Whether you're gearing up for a wild winter adventure or just looking to chill on the snow, having a well - inflated snow tube is key. In this blog, I'll walk you through the process of inflating a snow tube step by step.
Understanding Your Snow Tube
First things first, let's talk about the snow tubes we offer. We've got a range of awesome products. For instance, the 44 Inch Snow Tubing With PVC Bottom For Winter Sports is a beast. With its 44 - inch size and a PVC bottom, it's built to handle some serious snow action. It's perfect for those high - speed runs down the slopes.
Then there's the 2 Person Inflatable Snow Sled Tube. This one's a great choice if you want to share the fun with a friend or family member. You can zip down the hill side by side, creating memories that'll last a lifetime.
And if you think snow tubes are only for winter, think again! We also have the Inflatable Swimming Tube. It's great for those hot summer days in the pool or on the lake.
Getting Ready to Inflate
Before you start pumping air into your snow tube, you need to make sure you've got everything you need. There are a few different ways to inflate a snow tube:
- Manual Pump: These are usually pretty cheap and easy to come by. They're hand - operated, so you'll have to put in a bit of elbow grease. But they're a great option if you're on a budget or don't have access to power.
- Electric Pump: This is my personal favorite. An electric pump can inflate your snow tube in no time. You just plug it in, turn it on, and let it do the work. It's super convenient, especially if you've got a big tube or multiple tubes to inflate.
- Compressor: If you've got a compressor at home, that can work too. Compressors can pump air really quickly, but you need to be careful not to over - inflate the tube.
Once you've chosen your inflation method, find a clean and flat surface to work on. You don't want any dirt or debris getting inside the tube while you're inflating it. Also, make sure the valve on the snow tube is clean and free of any blockages. You can use a gentle brush or a cloth to clean it if needed.
The Inflation Process
Using a Manual Pump
If you're using a manual pump, start by attaching the pump nozzle to the valve on the snow tube. Make sure it's a tight fit so that air doesn't leak out. Then, start pumping! It might take a while, especially if you've got a large tube. But don't rush it. Keep a steady rhythm and try to pump evenly to avoid creating lumps in the tube.

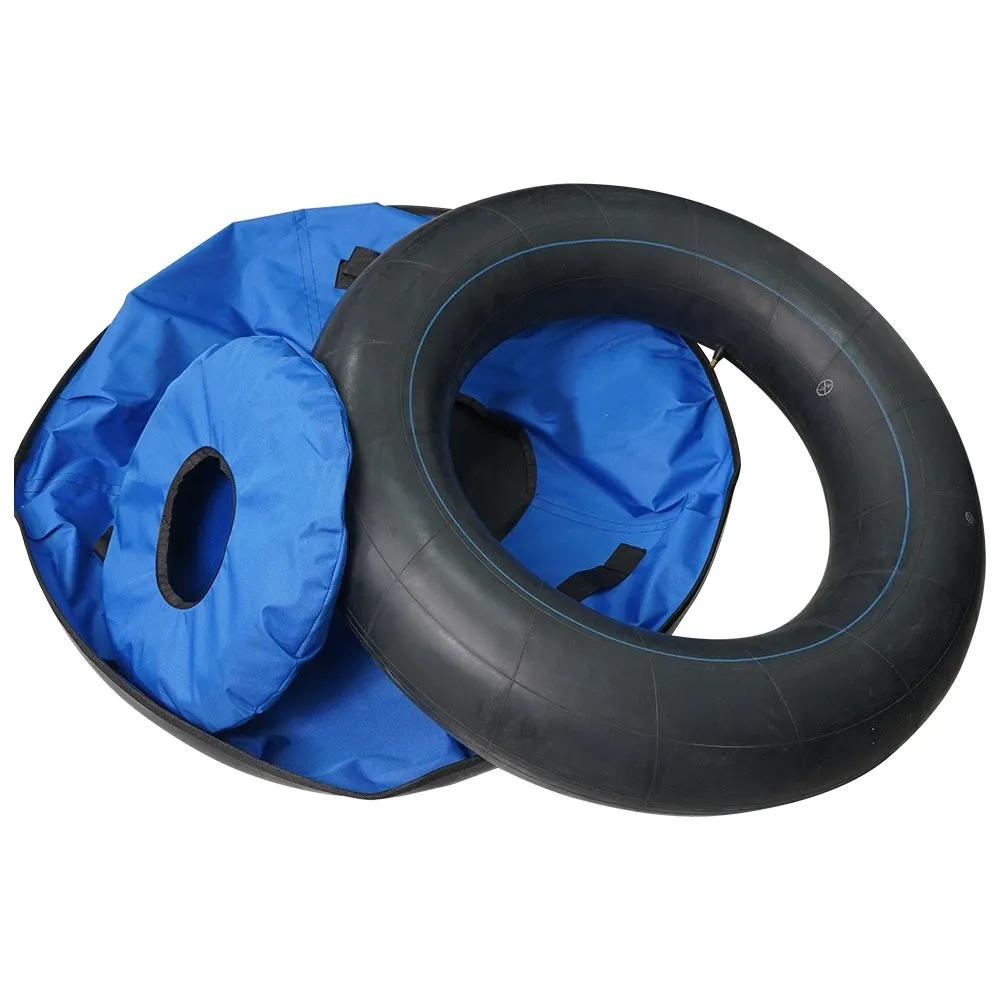
As you pump, check the firmness of the tube regularly. You want it to be firm but not overly hard. Over - inflating can cause the tube to burst, which is definitely not fun. When you think the tube is about right, give it a final few pumps and then remove the pump nozzle. Quickly close the valve to keep the air inside.
Using an Electric Pump
An electric pump is a lot easier. First, connect the pump to the valve of the snow tube. Make sure it's securely attached. Then, plug in the pump and turn it on. The pump will start sucking in air and pushing it into the tube.
Watch the tube closely as it inflates. You can tell when it's getting close to the right firmness by gently pressing on the sides of the tube. When it feels firm enough, turn off the pump and disconnect it from the valve. Close the valve immediately to prevent air from escaping.
Using a Compressor
If you're using a compressor, it's important to set the pressure correctly. You don't want to pump too much air too fast. Start with a low pressure setting and gradually increase it if needed.
Attach the compressor hose to the valve on the snow tube. Turn on the compressor, and keep an eye on the tube. Compressors can inflate a tube very quickly, so you need to be vigilant. Once the tube reaches the desired firmness, turn off the compressor and disconnect the hose. Seal the valve right away.
Checking for Proper Inflation
After you've inflated the snow tube, it's time to check if it's properly inflated. First, look at the tube. It should have a nice, round shape. If there are any lumps or uneven areas, it might be a sign that the air is not distributed evenly. You can try gently massaging the tube to redistribute the air.
Next, press on the sides of the tube. It should feel firm but still have a bit of give. If it's too soft, you need to add more air. If it's too hard, you might need to let some air out. You can use a small pin or a valve tool to release a little air if necessary.
Storing Your Inflated Snow Tube
Once you're happy with the inflation, it's time to think about storage. If you're not using the snow tube right away, make sure to store it in a cool, dry place. Avoid leaving it in direct sunlight or in a hot environment, as this can cause the tube to expand and potentially burst.
If you need to transport the tube, be careful not to drag it on rough surfaces. You can use a tube carrier or a bag to protect it. And when you're done with your snow adventure, deflate the tube carefully and store it properly for next time.
Why Choose Our Snow Tubes
Our snow tubes are made from high - quality materials that are durable and long - lasting. They're designed to withstand the rigors of winter sports and provide you with a safe and fun experience. Whether you're a beginner or an experienced snow tuber, we've got the perfect tube for you.
We also offer great customer service. If you have any questions about inflating your snow tube or any of our products in general, our team is always here to help. We want you to have the best possible experience with our snow tubes.
Contact Us for Purchasing
If you're interested in buying our snow tubes, we'd love to hear from you. Whether you need just one tube for a solo adventure or a whole batch for a group event, we can accommodate your needs. Reach out to us to start a discussion about your purchase. We're ready to work with you to make sure you get the right snow tubes at the best price.
References
- Snow tubing safety guidelines from winter sports associations.
- Product manuals for our snow tubes and inflation equipment.