

Hey there! As a supplier of hand cart inner tubes, I've seen my fair share of punctured tubes. It's a common problem that can really put a damper on your day, especially if you rely on your hand cart for work or daily tasks. But don't worry, fixing a punctured hand cart inner tube isn't as hard as it might seem. In this blog, I'll walk you through the whole process step by step.
First things first, you'll need to gather the right tools and materials. You don't need a whole bunch of fancy stuff. Just grab a patch kit, which usually includes patches, glue, and sandpaper. You'll also need a tire lever to get the tire off the wheel, a valve core remover to let the air out, and a pump to inflate the tube once it's fixed. Oh, and don't forget a bucket of water or a spray bottle with water – this'll help you find the leak.
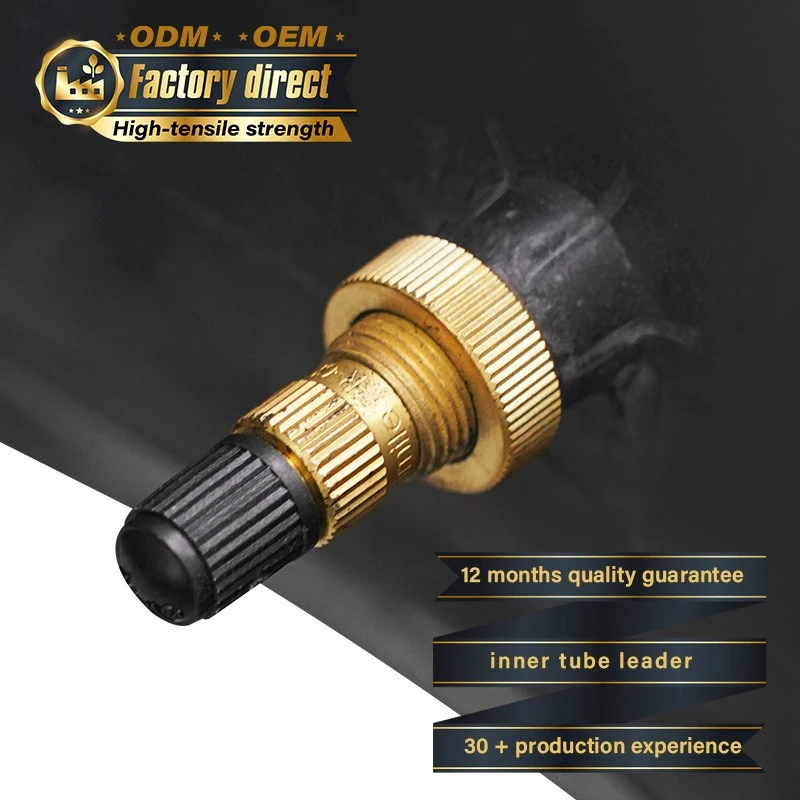
The first step is to take the tire off the wheel. Use the tire lever to pry the tire bead off the rim. Start at the valve stem and work your way around the wheel. It might take a bit of muscle, but be careful not to damage the tire or the tube. Once the tire is off, use the valve core remover to let all the air out of the tube.
Now it's time to find the leak. This is where the water comes in. You can either submerge the tube in the bucket of water or spray it with water from the spray bottle. Look for bubbles – that's where the air is escaping. Mark the spot with a pen or a piece of tape so you know where to patch it. If you can't find any bubbles, try inflating the tube a little bit and listening for a hissing sound. Sometimes, the leak is too small to make bubbles, but you can still hear the air escaping.
Once you've found the leak, it's time to prepare the area for patching. Use the sandpaper from the patch kit to rough up the surface around the leak. This helps the glue stick better. Make sure you sand a little bit bigger area than the patch so the patch has a good bond. After sanding, clean the area with a clean cloth to get rid of any dust or debris.
Next, apply the glue. Squeeze a small amount of glue onto the sanded area and spread it evenly with the applicator that came with the patch kit. Let the glue dry for a few minutes until it's tacky. This usually takes about 5 - 10 minutes, but it can vary depending on the temperature and humidity.
While the glue is drying, take the patch out of the kit. Make sure the patch is the right size for the leak – it should be big enough to cover the hole with a little bit of extra around the edges. Once the glue is tacky, carefully place the patch over the leak, making sure it's centered. Press down firmly on the patch to make sure it sticks. Rub your fingers around the edges of the patch to seal it completely.
After you've applied the patch, let it dry for at least 15 - 20 minutes. This gives the glue enough time to set. While you're waiting, you can check the tire for any sharp objects that might have caused the puncture. Look inside the tire and along the rim for things like nails, glass, or pieces of metal. Remove anything you find to prevent another puncture.
Once the patch is dry, it's time to put the tube back in the tire. Start by placing the tube inside the tire, making sure the valve stem is through the hole in the rim. Then, use your hands to work the tire bead back onto the rim. Start at the valve stem and work your way around the wheel. It might be a bit tricky, but keep at it. You can use the tire lever to help you get the last part of the tire on, but be careful not to pinch the tube.
After the tire is back on the wheel, use the pump to inflate the tube. Check the recommended tire pressure on the side of the tire and inflate the tube to that pressure. You can use a tire pressure gauge to make sure you're getting it right. Once the tube is inflated, give the tire a good spin and check for any signs of the patch coming loose or the tube being pinched.
And that's it! You've successfully repaired a punctured hand cart inner tube. It might take a little practice, but once you get the hang of it, it's a pretty straightforward process.
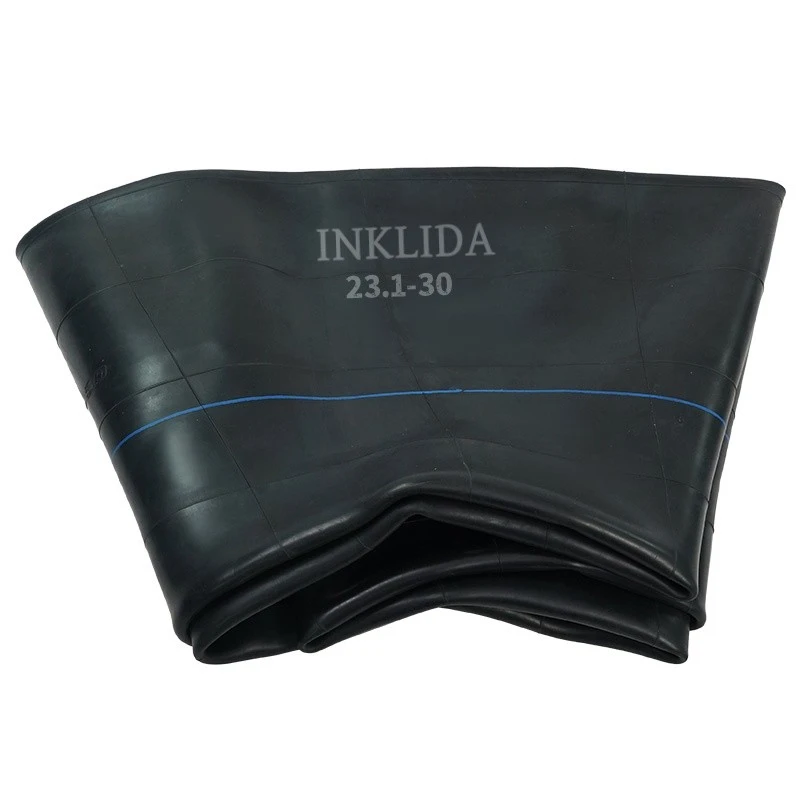
Now, if you're in the market for new hand cart inner tubes or any other types of inner tubes, we've got you covered. We offer a wide range of high - quality inner tubes, including Korean Technology 18.4 - 24 Inner Tubes, Agricultural Tyre Inner Tube 23.1 - 30 TR218A, and 18.4R38 Agricultural Inner Tubes. Our tubes are made from top - notch materials and are built to last.
If you're interested in our products, feel free to reach out to us for more information. We're always happy to answer any questions you might have and help you find the right inner tube for your needs. Whether you're a farmer, a business owner, or just someone who needs a reliable hand cart, we've got the inner tubes you're looking for.
In conclusion, fixing a punctured hand cart inner tube is a skill that can save you time and money. With the right tools and a little know - how, you can get your hand cart back up and running in no time. And if you ever need new inner tubes, don't hesitate to contact us. We're here to make sure you have the best experience possible.
References:
- Personal experience as a hand cart inner tube supplier
- General knowledge of tire repair procedures