

Repairing a punctured tire inner tube is a practical skill that every cyclist, motorist, or anyone dealing with vehicles using inner tubes should master. As a tire inner tube supplier, I've seen firsthand the importance of being able to fix a puncture quickly and effectively. Not only does it save money in the long run, but it also ensures that you're not left stranded on the road. In this blog post, I'll guide you through the step-by-step process of repairing a punctured tire inner tube, from diagnosing the problem to completing the repair.
Step 1: Remove the Tire from the Rim
The first step in repairing a punctured tire inner tube is to remove the tire from the rim. This may seem daunting at first, but with the right tools and a bit of patience, it's a straightforward process. You'll need a set of tire levers, which can be purchased at any bike shop or automotive store.
- Deflate the Tire: Use a valve core remover or the tip of a flathead screwdriver to depress the valve core and release all the air from the tire. This will make it easier to remove the tire from the rim.
- Lever the Tire Off the Rim: Insert one tire lever between the tire and the rim, near the valve stem. Use the lever to pry the tire over the rim. Once you've created a small gap, insert a second tire lever a few inches away from the first one and repeat the process. Continue using the levers to work your way around the rim until the tire is completely off.
Step 2: Locate the Puncture
Once the tire is off the rim, you'll need to locate the puncture in the inner tube. There are a few different methods you can use to do this.
- Visual Inspection: Carefully examine the inner tube for any obvious signs of damage, such as cuts, tears, or holes. Look for small punctures that may be caused by thorns, glass, or other sharp objects.
- Inflate the Tube Slightly: Use a hand pump to inflate the inner tube slightly. As you inflate the tube, listen for a hissing sound, which indicates the location of the puncture. You can also run your hand gently over the surface of the tube to feel for escaping air.
- Submerge the Tube in Water: If you're having trouble locating the puncture, you can submerge the inflated inner tube in a bucket of water. Look for bubbles rising from the surface of the water, which will indicate the location of the puncture.
Step 3: Prepare the Puncture Area
Once you've located the puncture, you'll need to prepare the area for repair. This involves cleaning the area around the puncture and roughing up the surface to ensure a good bond between the patch and the tube.
- Clean the Area: Use a piece of sandpaper or a rough cloth to clean the area around the puncture. This will remove any dirt, grease, or debris that could prevent the patch from adhering properly.
- Rough Up the Surface: Use the sandpaper or rough cloth to gently roughen up the surface of the tube around the puncture. This will create a better surface for the patch to adhere to.
Step 4: Apply the Patch
Now it's time to apply the patch to the puncture. You'll need a patch kit, which typically includes a patch, adhesive, and a piece of sandpaper.
- Apply the Adhesive: Apply a thin layer of adhesive to the prepared area around the puncture. Make sure to cover the entire area with the adhesive, but be careful not to apply too much.
- Let the Adhesive Dry: Allow the adhesive to dry for a few minutes, or until it becomes tacky to the touch. This will ensure a strong bond between the patch and the tube.
- Apply the Patch: Carefully place the patch over the puncture, making sure it is centered and covers the entire area. Press down firmly on the patch to ensure a good bond.
- Smooth Out the Patch: Use your fingers or a flat tool to smooth out any air bubbles or wrinkles in the patch. This will ensure a smooth, even surface.
Step 5: Reinforce the Patch (Optional)
If you want to add an extra layer of protection to the patch, you can reinforce it with a second patch or a piece of tape. This is especially recommended for larger punctures or for tubes that will be subjected to heavy use.
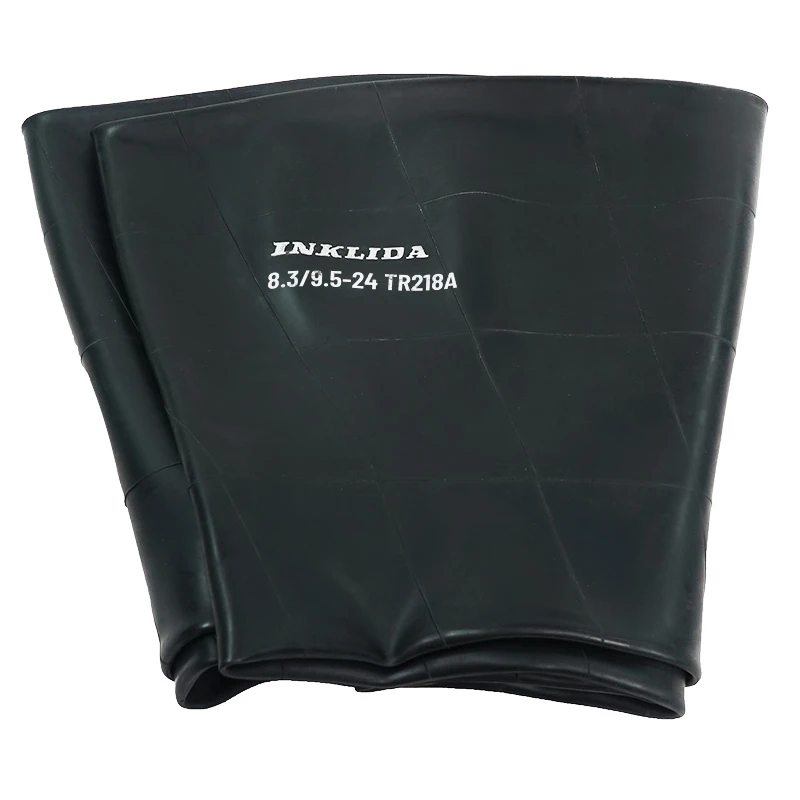
- Cut a Second Patch: Cut a second patch that is slightly larger than the first patch. Make sure the patch is made of the same material as the first patch.
- Apply Adhesive to the Second Patch: Apply a thin layer of adhesive to the back of the second patch.
- Place the Second Patch Over the First Patch: Carefully place the second patch over the first patch, making sure it is centered and covers the entire area. Press down firmly on the second patch to ensure a good bond.
Step 6: Reinstall the Inner Tube and Tire
Once the patch has dried and set, it's time to reinstall the inner tube and tire.
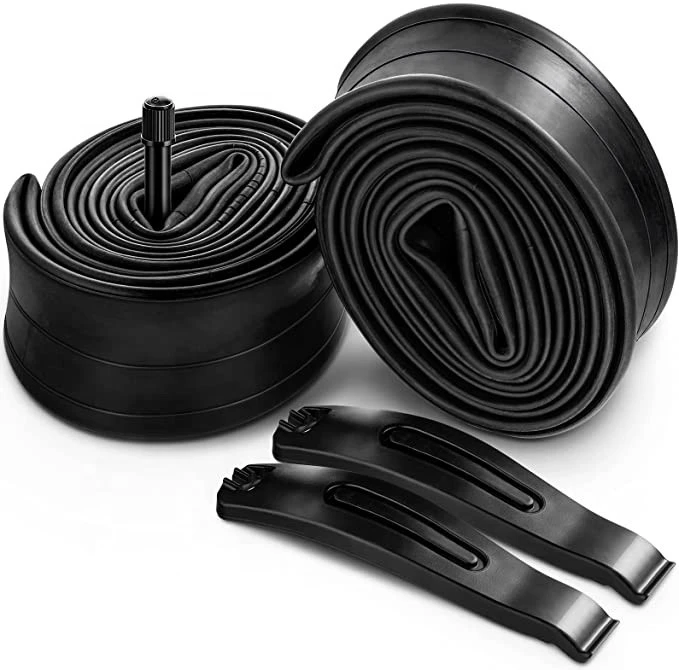
- Insert the Inner Tube into the Tire: Carefully insert the inner tube into the tire, making sure the valve stem is aligned with the valve hole in the rim.
- Place the Tire on the Rim: Starting at the valve stem, carefully place the tire on the rim. Use your hands to work the tire onto the rim, starting at one side and working your way around to the other side.
- Use the Tire Levers to Finish Installing the Tire: Once you've gotten most of the tire onto the rim, you may need to use the tire levers to finish installing the tire. Insert the tire lever between the tire and the rim, near the valve stem, and use it to pry the tire over the rim. Repeat this process around the rim until the tire is completely installed.
- Inflate the Tire: Use a tire pump to inflate the tire to the recommended pressure. Check the sidewall of the tire for the recommended pressure.
Step 7: Check for Leaks
Once the tire is inflated, it's important to check for leaks. You can do this by spraying the valve stem and the area around the patch with soapy water. If you see bubbles forming, it indicates a leak.
- Valve Stem Leak: If you notice a leak at the valve stem, you may need to tighten the valve core or replace the valve stem. Use a valve core remover to tighten the valve core or to remove it and replace it with a new one.
- Patch Leak: If you notice a leak at the patch, you may need to apply another patch or to reinforce the existing patch. Follow the steps outlined above to apply a new patch or to reinforce the existing patch.
Conclusion
Repairing a punctured tire inner tube is a simple and cost-effective way to keep your vehicle running smoothly. By following the steps outlined in this blog post, you can easily repair a punctured inner tube and get back on the road in no time.
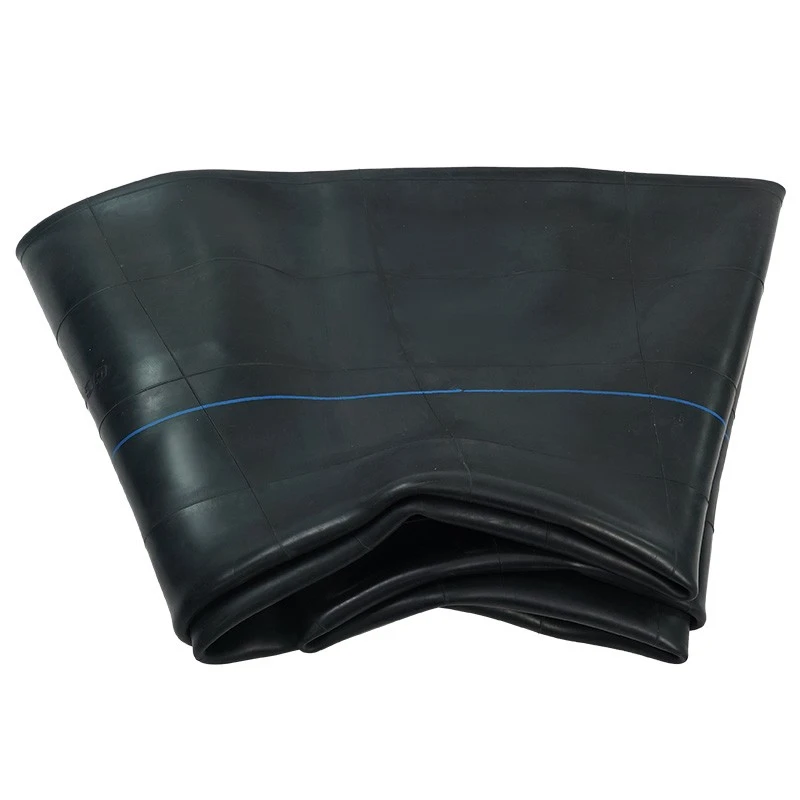
As a tire inner tube supplier, I offer a wide range of high-quality inner tubes for various applications, including bicycles, motorcycles, cars, trucks, and agricultural vehicles. If you're in the market for a new inner tube, I recommend checking out our Inner Tube 29X2.125 For Road Bicycle Tire, 9.5-24 Agr Inner Tube, and 16 Inch Truck Tire Flap.
If you have any questions or need further assistance with repairing a punctured tire inner tube or selecting the right inner tube for your vehicle, please don't hesitate to contact me. I'm always happy to help!
References
- "Bicycle Maintenance and Repair Manual" by Park Tool Company
- "Automotive Tire Service Manual" by the Tire Industry Association
- "Agricultural Tire and Wheel Manual" by the Agricultural and Construction Equipment Tire Association