

A tire flap, also known as a tire protector flap, is a crucial component in the overall performance and safety of a tire. It serves as a buffer between the inner tube and the rim, preventing abrasion, pinch flats, and other forms of damage. As a tire flap supplier, I understand the importance of ensuring that these flaps are properly adjusted for optimal performance. In this blog post, I will share some expert tips on how to adjust a tire flap for better performance.
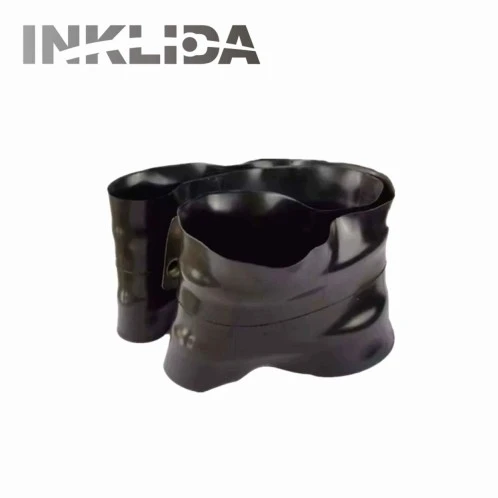
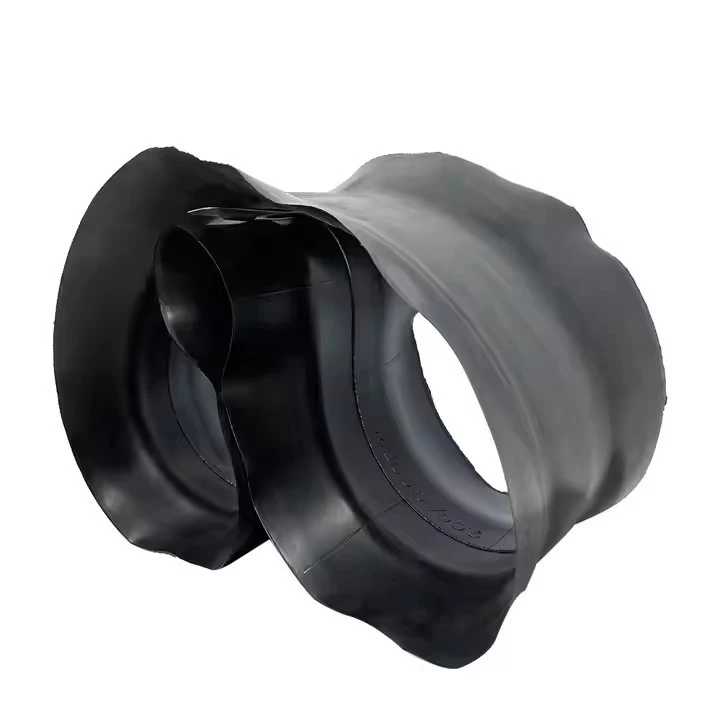
Understanding the Basics of Tire Flaps
Before diving into the adjustment process, it's essential to understand the basic functions and types of tire flaps. Tire flaps come in various sizes, materials, and designs to accommodate different types of tires and applications. Some common materials used for tire flaps include natural rubber, synthetic rubber, and fabric-reinforced rubber. Each material has its own unique properties, such as flexibility, durability, and resistance to heat and chemicals.
For example, Natural Rubber Tire Flap is known for its excellent elasticity and shock absorption capabilities, making it suitable for a wide range of applications. On the other hand, synthetic rubber tire flaps offer better resistance to wear and tear, making them ideal for heavy-duty use.
Importance of Proper Adjustment
Proper adjustment of a tire flap is crucial for several reasons. Firstly, it ensures a snug fit between the flap and the tire, preventing it from shifting or bunching up during use. This helps to maintain a consistent seal between the inner tube and the rim, reducing the risk of air leakage and pinch flats. Secondly, a well-adjusted tire flap distributes the stress evenly across the inner tube, minimizing the chances of premature wear and tear. Finally, it enhances the overall performance and safety of the tire, providing a smoother and more comfortable ride.
Steps to Adjust a Tire Flap
Adjusting a tire flap may seem like a daunting task, but with the right tools and techniques, it can be done easily. Here are the steps to follow:
Step 1: Gather the Necessary Tools
Before you start the adjustment process, make sure you have the following tools on hand:
- Tire iron
- Valve core tool
- Lubricant (such as soapy water or tire mounting lubricant)
- Measuring tape
Step 2: Remove the Tire from the Rim
Using a tire iron, carefully remove the tire from the rim. Make sure to deflate the tire completely before attempting to remove it.
Step 3: Inspect the Tire Flap
Once the tire is removed, inspect the tire flap for any signs of damage or wear. Look for cuts, tears, or punctures, and replace the flap if necessary.
Step 4: Clean the Rim and Flap
Clean the rim and the tire flap thoroughly to remove any dirt, debris, or old lubricant. This will help to ensure a proper fit and prevent any contaminants from causing damage to the inner tube.
Step 5: Lubricate the Flap
Apply a thin layer of lubricant to the tire flap to make it easier to install and adjust. This will also help to prevent the flap from sticking to the inner tube or the rim.
Step 6: Position the Flap
Place the tire flap inside the tire, making sure it is centered and aligned with the valve stem. The flap should cover the entire width of the rim, with a small overlap at the valve stem.
Step 7: Check the Fit
Using a measuring tape, check the fit of the tire flap. The flap should be snug but not too tight, and there should be no gaps or wrinkles. If the flap is too loose, it may shift or bunch up during use, while a flap that is too tight may cause excessive stress on the inner tube.
Step 8: Adjust the Flap
If the flap is not properly positioned or adjusted, carefully adjust it until it fits correctly. You may need to use a tire iron or your hands to manipulate the flap into place.
Step 9: Reinstall the Tire
Once the flap is properly adjusted, reinstall the tire on the rim. Make sure to align the valve stem with the valve hole in the rim, and use a tire iron to secure the tire in place.
Step 10: Inflate the Tire
Using a valve core tool, inflate the tire to the recommended pressure. Check the pressure regularly to ensure it remains within the recommended range.
Tips for Optimal Performance
In addition to proper adjustment, there are several other tips you can follow to ensure optimal performance of your tire flaps:
- Choose the Right Size and Material: Make sure to choose a tire flap that is the correct size and material for your tire and application. Refer to the manufacturer's specifications or consult with a tire professional for guidance.
- Inspect Regularly: Regularly inspect the tire flaps for any signs of damage or wear. Replace the flaps if necessary to prevent any potential problems.
- Maintain Proper Tire Pressure: Maintaining proper tire pressure is crucial for the performance and safety of your tires. Check the tire pressure regularly and inflate the tires to the recommended pressure.
- Avoid Overloading: Overloading your vehicle can put excessive stress on the tires and the tire flaps, leading to premature wear and tear. Make sure to follow the manufacturer's recommended load capacity for your vehicle.
Conclusion
Adjusting a tire flap for better performance is a relatively simple process that can have a significant impact on the overall performance and safety of your tires. By following the steps outlined in this blog post and implementing the tips for optimal performance, you can ensure that your tire flaps are properly adjusted and functioning at their best.
As a tire flap supplier, we offer a wide range of high-quality tire flaps, including 1200-20 Tire Flap and Tire Flap 1300 1400-25. If you have any questions or need further assistance with tire flap adjustment or selection, please feel free to contact us. We are here to help you find the perfect tire flap solution for your needs.
References
- Tire Industry Association. (2023). Tire Maintenance and Safety Guidelines.
- Rubber Manufacturers Association. (2023). Rubber Product Standards and Specifications.